Milky French Manicure: The Ultimate Guide To Achieving The Perfect Look
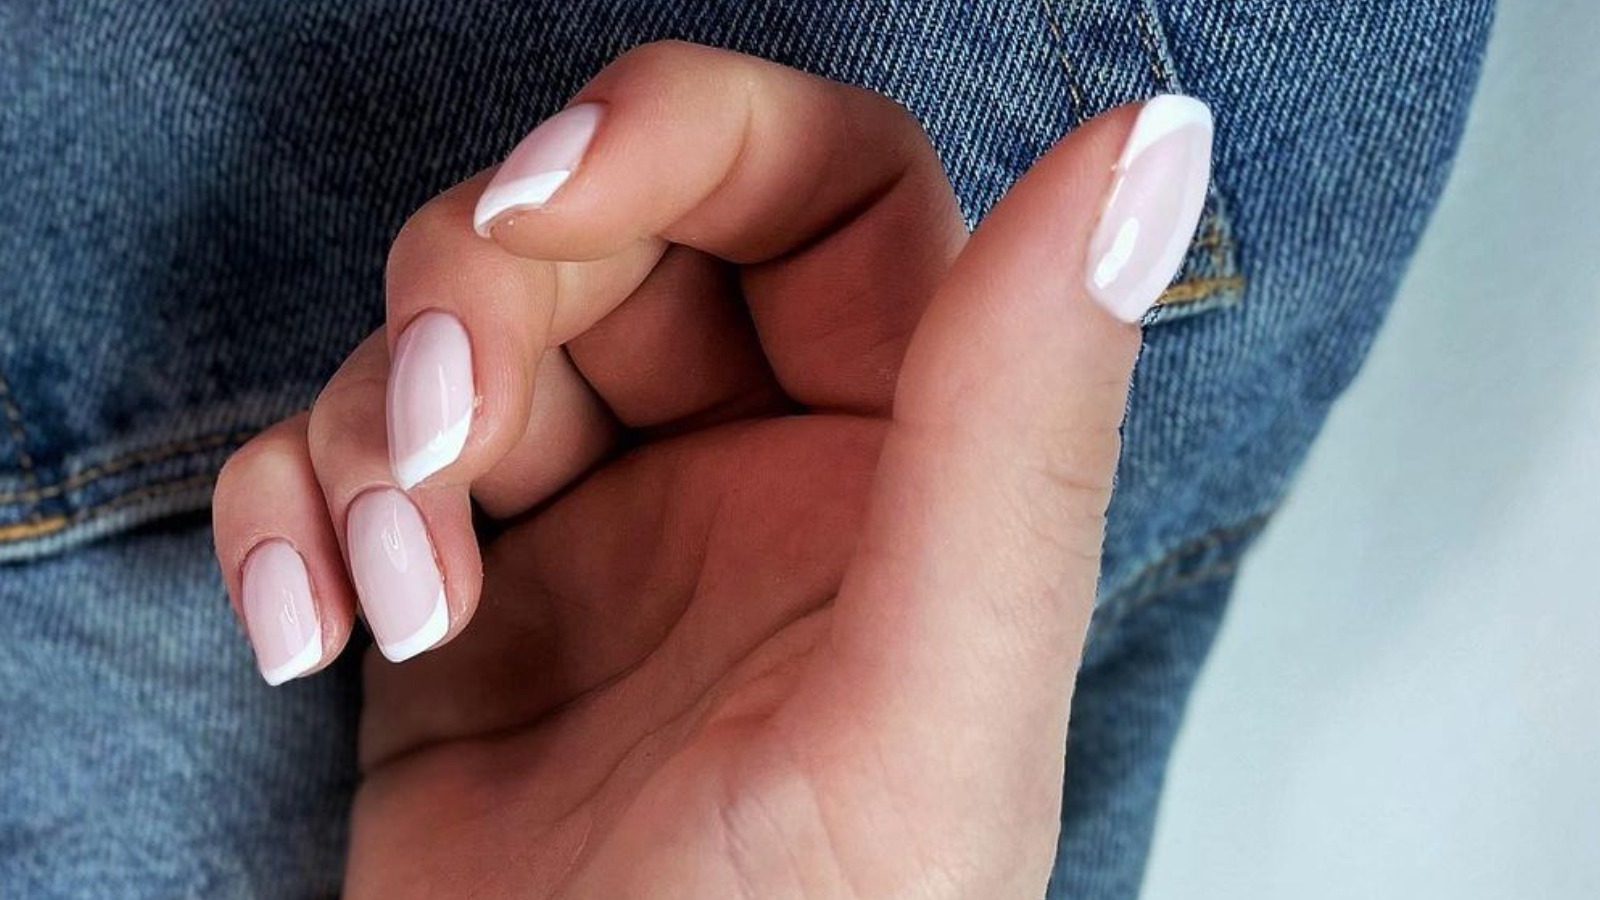
**The Milky French Manicure is a timeless and elegant nail design that has gained immense popularity in recent years.** This chic style combines the classic French tip with a soft, milky base that enhances the natural beauty of your nails. In this comprehensive guide, we will delve into the history, techniques, and tips for achieving the perfect Milky French Manicure. Whether you're a nail art enthusiast or a beginner looking to elevate your nail game, this article has something for everyone.
The Milky French Manicure not only adds sophistication to your look but also complements a variety of styles and occasions. This nail design is perfect for weddings, parties, or simply for everyday wear. With its understated elegance, it's no wonder that this trend has taken the beauty world by storm. In this article, we will explore everything you need to know about this exquisite manicure, including how to achieve it at home and the best products to use.
From the essential tools to the step-by-step process, we aim to equip you with all the knowledge you need to create stunning Milky French Manicures. So, if you're ready to transform your nails and impress everyone with your nail artistry, keep reading!
Table of Contents
- History of the French Manicure
- Milky vs. Classic French Manicure
- Essential Tools for Milky French Manicure
- Step-by-Step Guide to Achieving a Milky French Manicure
- Aftercare Tips for Your Manicure
- Trending Designs for Milky French Manicure
- Frequently Asked Questions
- Conclusion
History of the French Manicure
The French manicure has a rich history that dates back to the 1970s when it was popularized by Hollywood. The original concept was designed to give nails a clean, natural look, which was favored by many actresses and models. The classic French tip features a nude or pale pink base with white tips, creating a fresh and polished appearance.
As trends evolved, the Milky French Manicure emerged, adding a modern twist to this classic style. With its milky base, this design provides a softer and more sophisticated look, making it a favorite among fashion-forward individuals.
Milky vs. Classic French Manicure
While both the Milky and Classic French Manicure share similar elements, there are some key differences that set them apart:
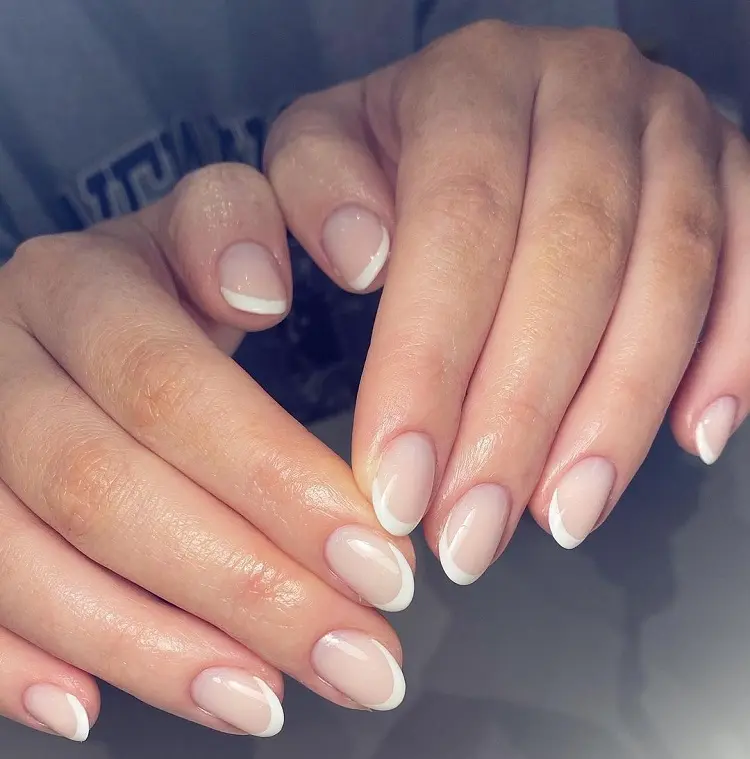
- Base Color: The Classic French Manicure uses a sheer pink or beige base, whereas the Milky French Manicure features a milky white or off-white base.
- Tip Color: Both styles maintain a white tip, but the Milky version offers a softer contrast with its base.
- Overall Look: The Milky French Manicure provides a more modern and chic appearance compared to the traditional style.
Essential Tools for Milky French Manicure
To achieve the perfect Milky French Manicure, you'll need the following tools and products:
- Nail file and buffer
- Cotton pads and nail polish remover
- Base coat
- Milky white nail polish
- White nail polish for tips
- Top coat
- Nail art brush or tape for precise tips
Step-by-Step Guide to Achieving a Milky French Manicure
Follow these simple steps to create your very own Milky French Manicure:
Step 1: Prepare Your Nails
Start by cleaning your nails. Remove any old polish, then file and shape your nails to your desired length and shape.
Step 2: Apply Base Coat
Apply a thin layer of base coat to protect your nails and allow the polish to adhere better.
Step 3: Apply Milky White Polish
Once the base coat is dry, apply two coats of milky white nail polish. Allow each coat to dry properly before applying the next.
Step 4: Create the Tips
Using a nail art brush or tape, carefully apply white polish to the tips of your nails. Ensure that the tips are even and clean.
Step 5: Apply Top Coat
Finish with a top coat to seal in your design and add shine. This will also help your manicure last longer.
Aftercare Tips for Your Manicure
To maintain your Milky French Manicure, consider the following aftercare tips:
- Avoid exposing your nails to harsh chemicals.
- Moisturize your hands and cuticles regularly.
- Wear gloves when doing household chores.
- Reapply top coat every few days to maintain shine and protection.
Trending Designs for Milky French Manicure
As nail art continues to evolve, there are several trending designs for the Milky French Manicure:
- Ombre effect with a gradient from milky to pastel colors.
- Additions of delicate nail art such as flowers or geometric shapes.
- Metallic or glitter accents on the tips for a glamorous touch.
Frequently Asked Questions
Q: How long does a Milky French Manicure last?
A: With proper care, a Milky French Manicure can last anywhere from one to three weeks.
Q: Can I do a Milky French Manicure at home?
A: Absolutely! With the right tools and a little practice, you can easily achieve this look at home.
Conclusion
In summary, the Milky French Manicure is a stunning and elegant choice for anyone looking to enhance their nail game. With its soft base and classic white tips, it offers a versatile and chic appearance that can be worn on any occasion. By following the steps outlined in this article, you can create your very own Milky French Manicure and keep it looking fresh with proper aftercare.
We encourage you to try out this beautiful nail design and share your results with us! Feel free to leave a comment below, share this article with fellow nail enthusiasts, or explore our other beauty articles for more tips and tricks.
Thank you for reading, and we hope to see you back here for more exciting nail art tips!
The 'Milky French' Manicure Is The Creamiest Take On The Classic Nail Look
:max_bytes(150000):strip_icc()/jenniferanistonmilkfrenchnails-f2d8f1e02ad8486c80f1909a326612a7.png)
Jennifer Aniston's Milky French Manicure will be Everywhere This Spring
Milky French Manicure Perfect For The Wedding Season!
